
Simple syrup is one of those basic cocktail building blocks that you might not think about a lot. It's easy to overlook, but this sweetener is key to great cocktails. Not to mention, it's beyond easy to make! This simple syrup recipe will not only show you how it's done, but also explain how (and why!) it's a great idea to learn how to make your own simple syrup at home.
Looking for a flavored simple syrup recipe? Check out my Sage, Jalapeño and Caramel Syrup recipes to see some different techniques for adding in some flavor. Flavoring your syrup is a great way to infuse new depth and deliciousness to your drink creations!
Jump to:
What is Simple Syrup?
Simple syrup is a mixture of water and sugar. It is a commonly used ingredient in cocktails, as well as iced tea, coffee drinks and much more. It's typically a mix of half water and half sugar, although the ratio can change based on your personal preference (see Ratio of Sugar to Water below).
Not only does it add sweetness to your drinks, but it also adds "body", or thickness, too. Think about how thick water is versus pancake syrup: the more sugar you dissolve in a liquid, the thicker it gets. Using sugar as a mixology tool can create new and interesting cocktail experiences!
How to use simple syrup
There are so many ways to use simple syrup! Obviously, it's great in cocktails, especially in drinks with any sourness or bitterness. The sweetness counteracts the sour and bitter flavors to create a delicious cocktail experience. It's is also perfect to use to sweeten coffee or tea drinks.
Here are a just a few of the many cocktails that use simple syrup:
- Southside - This classic gin cocktail is just a mix of gin, lime, mint and simple syrup. Super easy to make and so tasty!
- Limoncello Martini - Similar to a lemon drop, but even more lemony with limoncello liqueur!
- Lillet Gin Cocktail - Featuring Lillet aperitif, this drink is sophisticated and delicious.
- French 75 - One of the most well-known gin and Champagne classics! If you don't like gin, try the French 76 instead.

Why bother making simple syrup at home?
The number one reason to make your own cocktail syrup is the cost. There is nothing wrong with buying it, especially for the convenience, but it will definitely be more expensive. At the time I write this, buying a bottle for me is at least 10 times more expensive than making it!
Of course, there are some one-time costs, like buying an airtight container to store it in. Mason jars are great for this, or any kind of resealable glass bottle, and they can be reused endlessly.
Store bought syrup is convenient and you know you will always be getting the same product. But, once you get the hang of how easy it is to make, you won't want to spend the extra cash on it! Save your money for the more difficult-to-make flavors, like my favorite: d'arbo Elderflower Syrup.
Ingredients
As you might expect, there are only two ingredients in a true simple syrup: sugar and water.
- Sugar - for the cleanest, most neutral tasting simple syrup, you'll want to use refined white sugar. If you'd rather use unrefined sugar, you can use it the exact same way. Just keep in mind that it will always have a slightly more warm, caramel flavor to it. It'll also have a tint of brown because of the color of the sugar itself.
- Water - filtered tap water works well if you have a good tap water source. You can also use bottled water.

Ratio of Sugar to Water
Simple Syrup (1:1 ratio)
The standard ratio in the United States is to use one part sugar to one part water. (Note that this is equal parts sugar and water by volume, not weight.) Most U.S. drink recipes are based on this ratio, unless it says to use something different.
The one-to-one ratio results in a liquid that's thinner than honey, and about the same consistency and sweetness as maple syrup. It's super easy to make and keeps well in the fridge for about 1 month.
Rich Simple Syrup (2:1 ratio)
Doubling the amount of sugar will give you Rich Simple Syrup. (This is actually the standard in United Kingdom bars, so keep that in mind if you are following a UK recipe!)
Rich Simple Syrup is thicker and sweeter than one-to-one. There is less water, so it does offer a little more control over how diluted your final drink will be.
Rock Candy Syrup
It's pretty rare to see Rock Candy Syrup in a cocktail, unless you're making a traditional Mai Tai or other Tiki recipe. This recipe calls for completely saturating the water with sugar, which just means putting sugar in until you literally can't add any more in there.
The resulting liquid is very sweet, and also very thick. If you want some deeper info, check out this link on what makes a genuine rock candy syrup. Basically, you need to make actual rock candy, and the syrup is what is left over from that process! If you want to give this syrup a taste test, there are a few commercially available types, like this Tiki Rock Candy Syrup by BG Reynolds.

Should you heat simple syrup?
Whether you heat your syrup or not, it's still going to be good! My personal preference is to heat it, but there are arguments for not heating it too.
Making the syrup without heat
The cold method of making simple syrup is great because it is so easy. Just combine the ingredients in a container, and mix or shake until the sugar is completely dissolved.
The cold method tends to result in a little thicker liquid than the heated method, because the sucrose does not break down. The drawback is that it takes a while for the sugar to fully dissolve. Also, because you are not heating the liquid and killing any germs, it does tend to mold a little more quickly than hot method syrup.
If you use superfine sugar, also known as caster sugar, it will dissolve faster. You can make your own caster sugar by processing regular granulated sugar in the blender or food processor. I don't suggest using powdered sugar (aka confectioner's sugar), because it has added cornstarch that will affect the syrup.
Making the syrup with heat
The hot method involves heating the water and sugar together. The heat allows the sugar to dissolve more quickly. As long as the mixture gets hot enough, it also kills any germs that might have been in the mixture too. Because there are fewer germs in the mix, the hot method allows it to keep for much longer in the fridge.
One thing that affects the hot method is the breakdown of the sucrose in sugar into fructose and glucose. The longer it heats, the more of the sucrose breaks down, which makes heated simple syrup a little thinner in consistency. It also makes the heated syrup have a tiny bit sweeter of a taste.
The last advantage I'll mention to heating up simple syrup is that it is less likely to crystallize when you store it in the fridge. This is because some of the sucrose has broken down, and the presence of the broken down sugars keeps it from forming crystals in your container.
Equipment
You'll just need a couple of things to make this syrup. The most important is some sort of sealable container, preferably glass, to store it in. Mason jars are a great option (like these 12 ounce Mason jars).
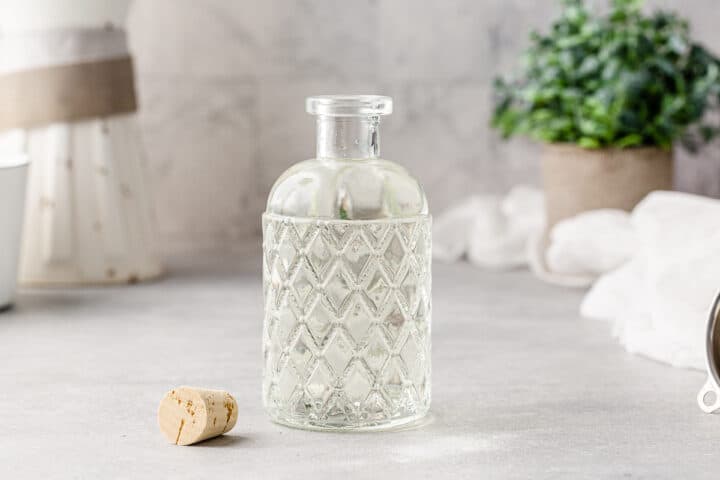
I personally love using glass bottles with a stopper, because they're easy to pour with and nice to look at! If you're making a full recipe, you'll need a 10 ounce container to hold the whole batch of syrup. The bottles I've used in my pictures are actually these 8-ounce bottles, so I had a little left over to use in a cocktail.
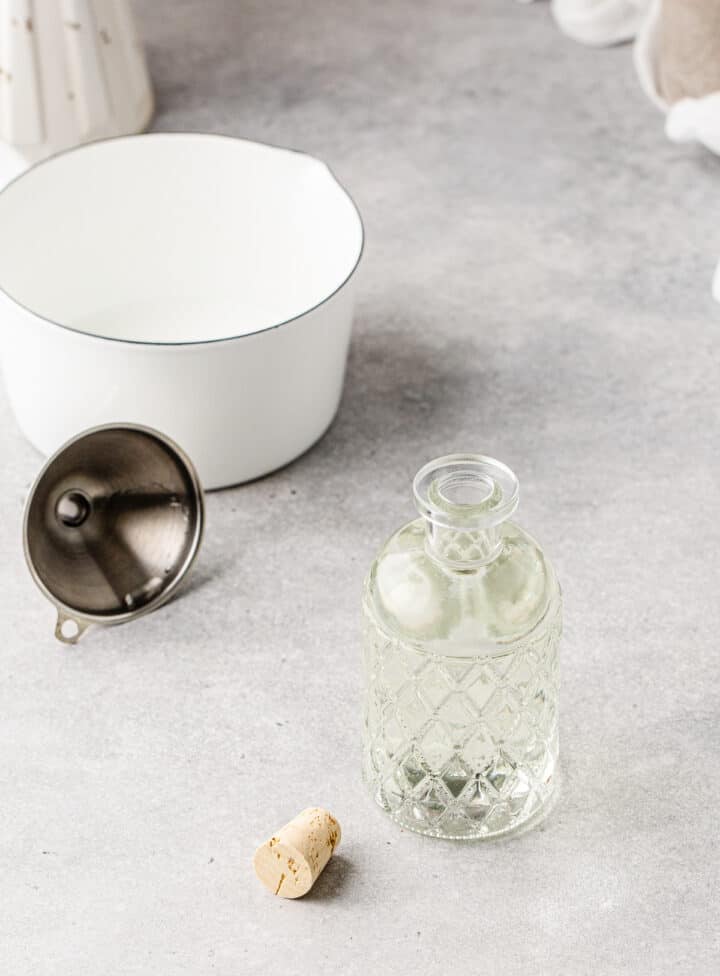
If you're using the hot method, you'll also need a small saucepan or a heatproof microwaveable container, and a small funnel to transfer the liquid.
Instructions
Stovetop Method
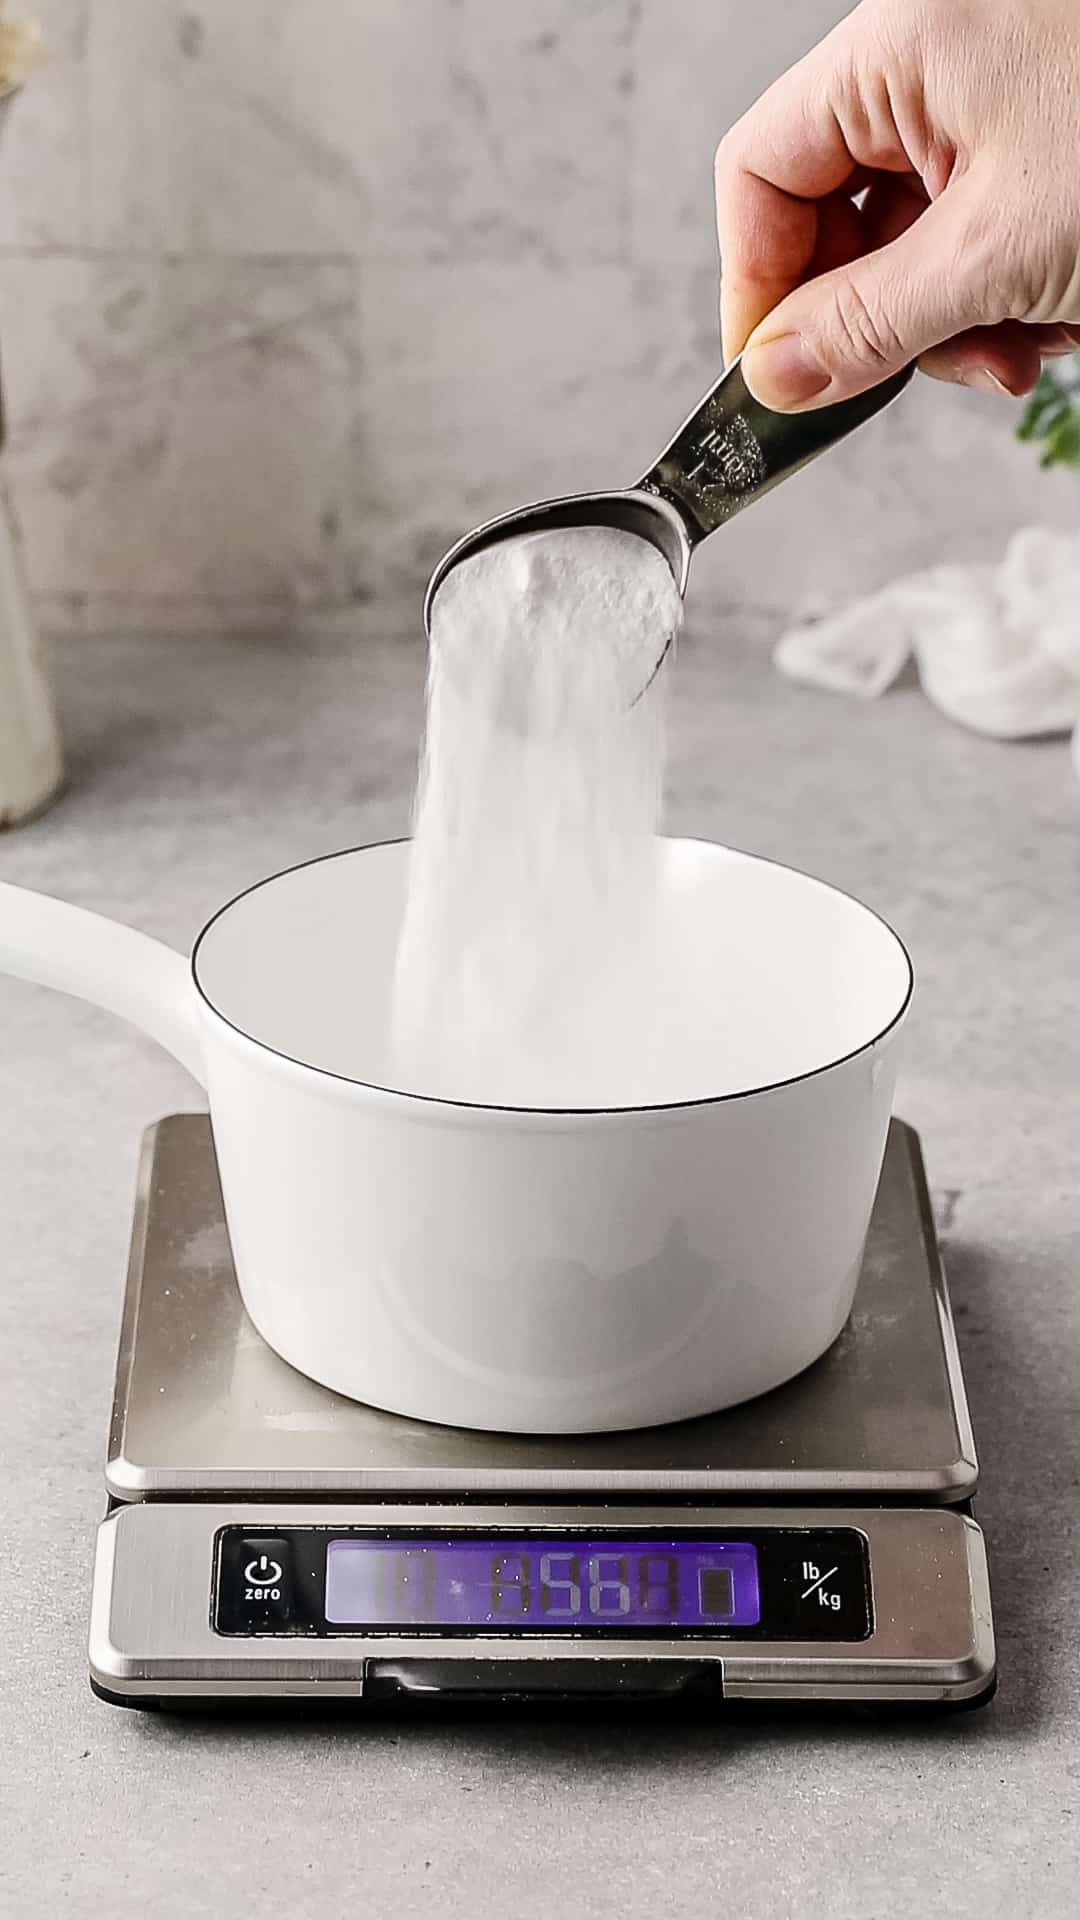
To make this recipe, start by measuring out your ingredients. I use a scale to measure out the sugar so I can just measure it straight into the pot, but you can also use a dry measuring cup.
Add the sugar and water into your pot, stir to combine and place the pot on the stove over medium heat.

You can stop as soon as the sugar is no longer visible, and let the mixture cool. If you want the syrup to last longer, though, bring the mixture to a boil.
Then, reduce the heat to medium-low and simmer for 3 minutes. This will kill any bacteria lingering in the mixture, and also start to break down some of the sucrose, so the resulting syrup will actually taste a little sweeter.
Remove the syrup from the heat and allow it to cool to room temperature. (Hint: you can put the bottom of the saucepan into an ice water bath to make it cool super fast!)


Once the liquid is completely cooled, use a funnel to pour it into a resealable airtight container. Seal up the container and store it in the refrigerator for 2 to 4 weeks. Discard if you see any signs of mold.

Microwave Method
The microwave method of making simple syrup is similar to the stovetop method above, since you'll be heating up the mixture. Instead of a pot, you'll need a heatproof container like a glass bowl or measuring cup.
All microwaves are different, so be careful not to overheat the mixture (trust me... you don't want this stuff splattering all over your microwave!) Start by microwaving it for 30 seconds, then give it a stir with a spoon or spatula. Continue microwaving it in 20 second intervals until you can't see any more sugar.
Once the sugar is no longer visible, let the syrup cool completely. Then bottle it in a resealable container and store it in the refrigerator for 2-4 weeks. Discard at any sign of mold.
Note: If you want to make sure any bacteria is killed in the syrup, you can use a kitchen thermometer to check the temperature. Bring the temperature up to at least 165°F (74°C) by heating it in 10 to 15 second intervals.

Cold Method
The cold method of is probably the easiest! It does take longer for the sugar to dissolve in room temperature water, but there are some ways you can make it go faster.
Start out by combining the sugar and water in a resealable container. A mason jar works great for this method. Instead of just stirring or letting the mixture sit out, seal up the container and shake it.
You don't have to shake it constantly, but give it a 30-second shake, then rest. Continue until you can't see the sugar anymore in the mixture. (If you want this to go even faster, use a blender instead of shaking!)
Store the syrup in the same container you made it in, or transfer it to a resealable bottle if you'd like. Store in the fridge for about 2 weeks, and discard at any sign of mold.
Hint: With the cold method, it will go faster to use superfine sugar, AKA caster sugar, since the sugar particles are smaller.
Frequently Asked Questions
Simple syrup gives a drink sweetness without leaving extra granules of sugar in the bottom of the glass. It makes the whole drink have the same amount of sweetness, too!
Absolutely! Maple syrup is a great substitute for simple syrup because it is about the same consistency and sweetness. You can also substitute agave nectar or honey, although they will add some flavor to the drink as well (and you will likely want to dilute the honey, since it is much thicker and sweeter).
It will last about 2 to 4 weeks if stored in the fridge. Discard it if you see any signs of mold or cloudiness. If you are going to be using it exclusively for cocktails and want it to last a little longer, you can add an ounce of plain vodka. This will keep it from spoiling for a couple of weeks longer.
Top tip: Low Calorie Keto-friendly Simple Syrup
If you want to make a low-calorie version of simple syrup, you can use a sugar alternative. My preferred sweetener is allulose, because it tastes almost exactly like sugar. Not only that, but it creates a syrup with the thickness of normal simple syrup (unlike erythritol)! Just use 225 grams (1 cup plus 2 Tablespoons) per cup of water to match the sweetness of the original recipe.
📖 Recipe
Simple Syrup
Equipment
- 1 Medium saucepan (if using the stovetop)
- 1 Heatproof bowl or measuring cup (if using the microwave)
- 1 Glass bottle or other container for storage (at least 9 ounces capacity, preferably 10, to fit the full recipe)
- 1 Funnel
Ingredients
- 1 cup water (8.3 ounces by weight/8 fluid ounces)
- 1 cup sugar (7 ounces by weight)
Instructions
Stovetop Method
- Add the water and sugar to your saucepan and place it on the stove over medium-high heat.
- Stir the mixture a few times as it heats up. Bring it to a boil.
- After it comes to a boil, lower the heat to a simmer and let it simmer for 3 minutes.
- Remove the saucepan from the heat. Cover it with a lid and let the mixture cool to room temperature.
- Once the syrup is at room temperature, pour it from the saucepan into your storage container. Use a funnel if necessary.
- Store the syrup in the refrigerator for 2-4 weeks. Discard at any sign of cloudiness or mold growth.
Microwave Method
- Add the water and sugar to a heatproof, microwaveable container. Stir to combine.
- Microwave the container for 30 seconds, then remove and stir the mixture.
- Continue microwaving in 20 second intervals and then stirring until you can't see the sugar anymore.
- Once the sugar is all dissolved, allow the mixture to cool to room temperature. Then transfer it to your storage container, if it's different from what you're microwaving in.
- Store the syrup in the refrigerator for 2-4 weeks. Discard at any sign of cloudiness or mold growth.
Cold Method
- Add the water and sugar to a sealable container or jar. Seal up the jar and shake it to mix.
- Continue shaking for about 30 seconds, then rest and let the jar sit. Shake every now and then until you can't see the sugar anymore.
- If you want this process to go faster, you can use a blender instead of shaking the mixture.
- Once all the sugar is dissolved, transfer the syrup to your storage container, if it's different from what you're mixing in.
- Store the syrup in the refrigerator for 2-4 weeks. Discard at any sign of cloudiness or mold growth.
Notes
- See the section Should You Heat Simple Syrup? for more information on the pros and cons of the different methods.
- If you are using the Cold Method, you might want to try to find superfine sugar (aka caster sugar) since it will dissolve faster in the water. You can make your own superfine sugar by running regular granulated sugar through the food processor.
- With all methods, if the simple syrup is intended for cocktail use only, you can add an ounce of plain vodka to the syrup to make it last longer in the fridge. This will make the syrup have an ABV content of about 4%.

Comments
No Comments